
Waking up to the sound of dripping water and realizing that your roof is leaking is every homeowner’s nightmare. A sudden storm, a falling branch, or simply the wear and tear over time can lead to damaged roof shingles, causing headaches and potentially costly repairs if not addressed promptly. Knowing how to replace these shingles can save you money and protect your home from further damage.
Why Replacing Damaged Roof Shingles is Crucial
Damaged shingles can compromise the integrity of your roof, leading to leaks, water damage, and even structural issues if left unattended. Replacing these shingles promptly is essential to maintain the roof’s protective barrier. Whether you’re dealing with curling shingles, cracks, or missing pieces, understanding the repair process can empower you to take swift and effective action.
 Signs of Damaged Roof Shingles
 Signs of Damaged Roof Shingles
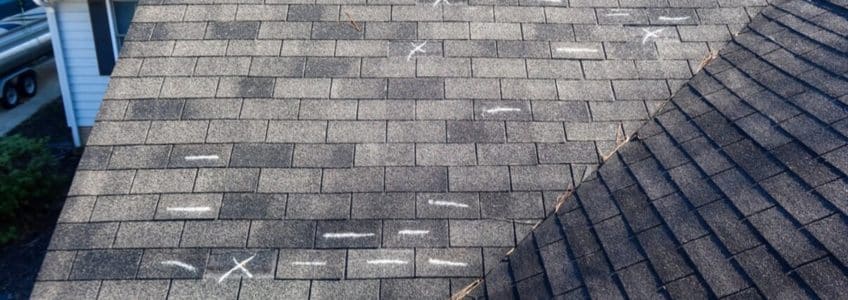
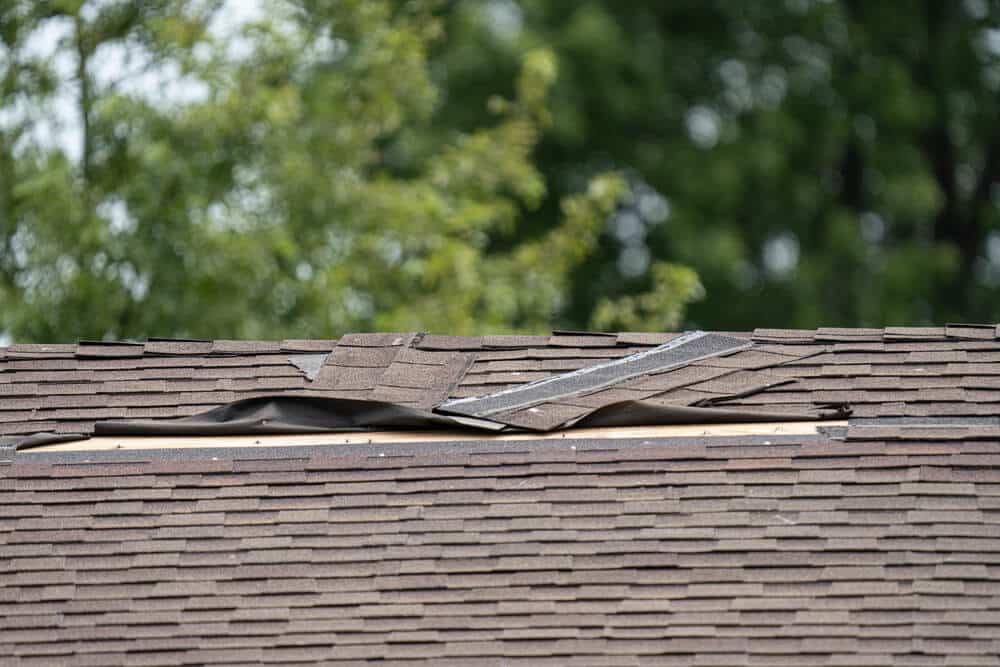
Before starting the replacement process, it’s crucial to identify the signs of shingle damage. Common indicators include curling or buckling shingles, cracks, missing shingles, granule loss, and stains or moss growth. Curling or buckling shingles often indicate age or poor ventilation. Cracks can result from weather extremes and aging, while high winds and storms can blow shingles off the roof. Shingles losing granules may be nearing the end of their lifespan, and discoloration or moss can signify moisture problems and damage.
Tools and Materials Needed
To replace damaged roof shingles, ensure you have the necessary tools and materials: replacement shingles, roofing nails, hammer or nail gun, pry bar, utility knife, roofing sealant, ladder, safety harness (if working on a steep roof), and work gloves.
Step-by-Step Guide to Replacing Damaged Roof Shingles
Step 1: Safety First
Before starting any roofing project, prioritize safety. Wear sturdy shoes, use a stable ladder, and consider using a safety harness, especially if your roof has a steep pitch. Never work on the roof during wet or windy conditions.
Step 2: Remove the Damaged Shingles
Using a pry bar, carefully lift the damaged shingle, breaking the sealant bond and removing the nails. Be gentle to avoid damaging adjacent shingles. If the shingle is particularly stubborn, you may need to use a utility knife to cut through the sealant.
Step 3: Prepare the Area
Once the damaged shingle is removed, clean the area of any debris or old sealant. This step ensures a smooth surface for the new shingle to adhere to, providing a secure fit.
Step 4: Install the New Shingle
Slide the new shingle into place, aligning it with the surrounding shingles. Nail it down using roofing nails, placing them in the same locations as the original nails. Ensure the new shingle lies flat and is securely attached. Apply roofing sealant under the edges of the new shingle to create a watertight seal.
Step 5: Inspect Your Work
After installing the new shingle, inspect the area to ensure everything is secure and properly sealed. Check for any loose nails or edges that might allow water to seep in. A thorough inspection can prevent future issues and prolong the life of your roof.
When to Call a Professional
While replacing a few damaged roof shingles can be a manageable DIY project, there are times when it’s best to call in a professional. If you’re dealing with extensive damage, multiple missing shingles, or structural issues, a roofing expert can provide the necessary repairs and ensure your roof is in optimal condition. Maintenance Tips to Prevent Shingle Damage Regular maintenance can extend the life of your roof and prevent damage. Conduct regular inspections, especially after severe weather, and keep gutters clean to prevent water buildup and damage. Trim overhanging branches to reduce the risk of branches falling and damaging your roof. Address minor problems promptly before they escalate into major repairs.
Conclusion
 Replacing damaged roof shingles is a vital skill for any homeowner. By following this guide, you can protect your home, save money, and ensure your roof remains in top condition. Remember, safety is paramount, and when in doubt, don’t hesitate to seek professional help. Contact Advantage Construction today to speak with one of our team members about replacing your damaged roof shingles.