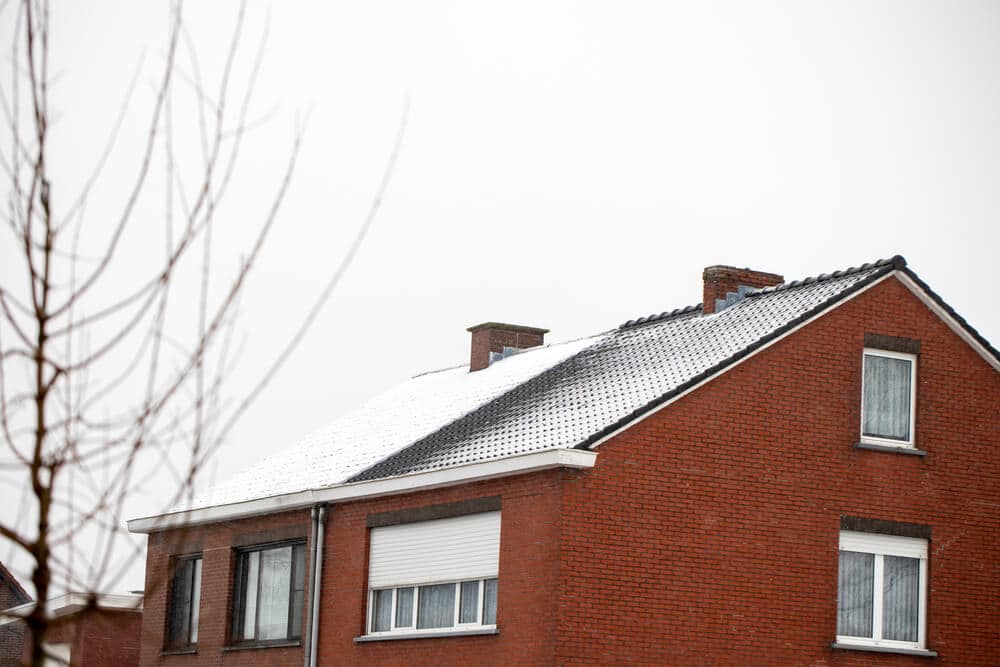
As the weather turns colder and leaves begin to fall, it’s time to make sure your home is ready for the changing seasons. One critical part of your home that often gets overlooked is the roof. Preparing your roof for fall and winter is essential to avoid costly repairs and ensure your home remains warm and dry through the harsh weather. In this guide, we’ll walk you through the steps to make sure your roof is winter-ready, helping you prevent problems before they start and keep your home safe all season long.
Why Preparing Your Roof for Fall and Winter Matters
When temperatures drop, your roof becomes your first line of defense against the elements. Snow, ice, wind, and freezing rain can put incredible stress on your roof, especially if it’s already in poor condition. Even a minor leak or damaged shingle can lead to significant problems, such as water damage, insulation issues, or even structural concerns. By taking some time to prepare your roof for fall and winter, you’re investing in the long-term safety of your home, as well as potentially saving yourself from expensive repairs in the middle of a winter storm.
Step 1: Clean the Gutters and Downspouts
One of the simplest yet most essential tasks for preparing your roof for fall and winter is cleaning the gutters. Gutters play a crucial role in directing water away from your roof and foundation. When they’re clogged with leaves, twigs, and other debris, they can’t do their job properly, leading to water pooling on your roof or around your foundation.
How to Clean Your Gutters
- Start by clearing large debris by hand or with a small trowel.
- Flush the gutters with a garden hose to ensure water flows freely.
- Check the downspouts for clogs by running water through them and ensuring it drains away from the home.
- Consider installing gutter guards to prevent future clogs.
Blocked gutters can lead to ice dams in winter, which can cause significant roof damage. Taking time to clean them now can help prevent this common winter roofing issue.
Step 2: Inspect and Repair Roof Shingles
Before the cold weather sets in, examine your shingles for any signs of wear or damage. Loose, cracked, or missing shingles can expose your roof to moisture, which can freeze and cause leaks or further shingle damage. Even if your roof looks fine from the ground, taking a closer look might reveal issues that aren’t visible at first glance.
How to Check and Fix Shingles
- Visual inspection: Use binoculars or a ladder to inspect the roof’s surface. Look for curling, cracking, or missing shingles.
- Replace damaged shingles: If you spot any problem shingles, replace them as soon as possible. Damaged shingles are more likely to fail under heavy snow and ice.
- Seal loose shingles: Even if they’re not broken, shingles that are lifting or loose can become a problem during high winds. Secure them with roofing cement or nails.
Taking these simple steps to repair or replace shingles is a crucial part of preparing your roof for fall and winter and can prevent more costly repairs later on.
Step 3: Check the Flashing Around Roof Fixtures
Flashing is the material placed around roof fixtures like chimneys, vents, and skylights to prevent water from seeping into your home. If flashing becomes loose or damaged, water can easily find its way inside, leading to leaks and other issues.
How to Inspect and Repair Flashing
- Inspect for gaps or cracks: Look closely at the areas around chimneys, skylights, and vents. If you see any gaps, cracks, or rust, you may need to replace or repair the flashing.
- Use roofing cement: For minor gaps, apply roofing cement to seal the flashing securely. This can help prevent water from getting underneath.
- Consider professional help: If you’re not comfortable working around these fixtures, call a professional roofer. They can quickly assess and repair any issues with your flashing, ensuring it’s watertight.
By addressing flashing issues now, you can keep water from sneaking into your home, which is especially important during winter when freezing and thawing cycles can worsen existing leaks.
Step 4: Trim Overhanging Branches
Overhanging branches might seem harmless, but they can become dangerous in winter. Heavy snow or ice can weigh branches down, causing them to break and fall onto your roof, leading to shingle damage or even structural problems.
Trimming Tips for Safety
- Use the right tools: Use a pruning saw or clippers to cut branches safely. If a branch is large or difficult to reach, consider hiring a professional tree service.
- Focus on problem areas: Trim branches that are within ten feet of your roof. This helps prevent leaves from piling up on the roof and reduces the risk of damage from falling branches.
Keeping trees trimmed is a simple yet effective way to protect your roof from unnecessary wear and tear, especially during heavy winter storms.
Step 5: Schedule a Professional Roof Inspection
Sometimes, even a thorough DIY inspection may miss subtle issues that a trained eye can spot. A professional roof inspection can identify potential weak spots, recommend necessary repairs, and help ensure that your roof is fully prepared for fall and winter. It’s also an excellent time to address any repairs while the weather is still mild.
Conclusion

