
Water damage is one of the most frustrating and costly problems a homeowner can face, and it often starts with a tiny leak in the roof. Ignoring a small drip can lead to significant damage to your home’s structure and interior. Fortunately, finding and fixing leaks in a roof is something you can often do yourself, saving both time and money. This guide will walk you through the process, step-by-step, to ensure your roof remains watertight and your home stays dry.
Why Roof Leaks Are a Serious Problem
The Hidden Dangers of Roof Leaks
 Roof leaks might start small, but they can quickly escalate into major issues. Even a minor leak can cause extensive damage, including:
- Structural damage to your home’s framing and foundation
- Mold and mildew growth, which can pose health risks
- Damage to insulation, leading to reduced energy efficiency
- Staining and deterioration of ceilings and walls
Cost Implications of Ignoring Leaks
The financial implications of ignoring roof leaks are significant. Repairs become more extensive and expensive the longer a leak is left unchecked. What might have been a simple patch job could turn into a full roof replacement if the problem is not addressed promptly.
How to Find Leaks in a Roof
Initial Inspection: Where to Start
Finding leaks in a roof begins with a thorough inspection. Here’s how to get started:
- Interior Inspection: Begin by checking the inside of your home for signs of leaks. Look for water stains on ceilings and walls, peeling paint, or mold growth. Pay special attention to areas around chimneys, skylights, and vents, as these are common leak sites.
- Attic Inspection: Head up to your attic with a flashlight. Look for damp spots, water stains, or mold. Follow any signs of moisture to their highest point; this is often where the leak originates.
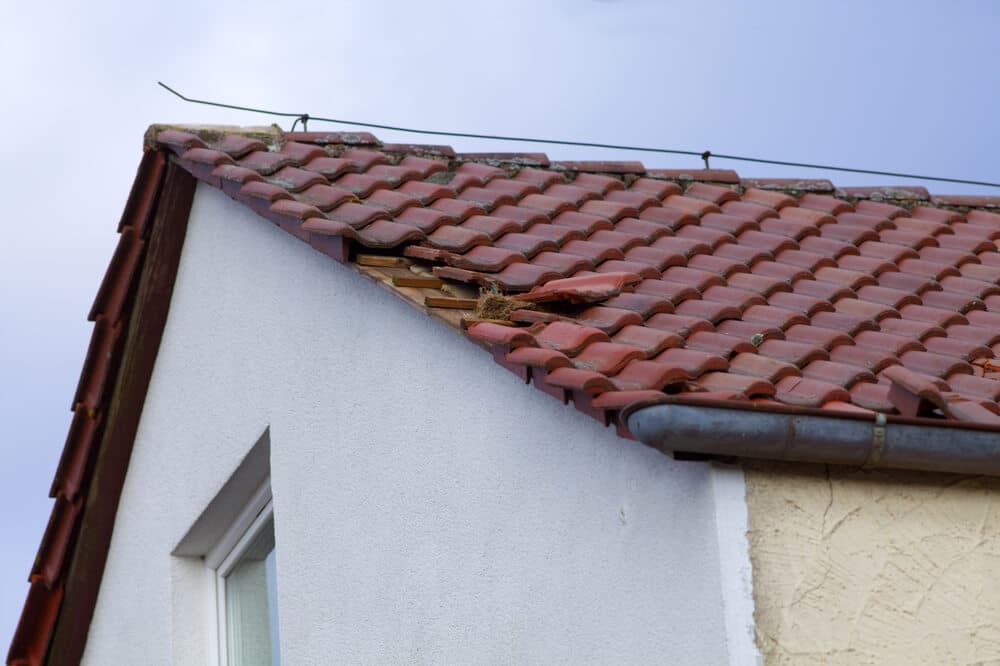
- Exterior Inspection: Once you’ve identified potential leak areas from inside, it’s time to inspect the roof itself. Safely climb onto your roof and look for damaged or missing shingles, cracked flashing, and clogged gutters.
Common Causes of Roof Leaks
Understanding the common causes of roof leaks can help you pinpoint the problem more quickly. Some frequent culprits include:
- Damaged Shingles: Cracked, curled, or missing shingles can allow water to penetrate the roof.
- Faulty Flashing: Flashing around chimneys, vents, and skylights can crack or lift, creating an entry point for water.
- Clogged Gutters: Gutters that are full of debris can cause water to back up and seep under the roof.
- Worn Seals: The seals around roof penetrations, such as pipes and vents, can deteriorate over time.
How to Fix Leaks in a Roof
Tools and Materials You’ll Need
Before you start fixing leaks in a roof, gather the necessary tools and materials:
- Ladder
- Flashlight
- Pry bar
- Roofing nails
- Hammer
- Roofing cement
- Replacement shingles
- Caulk and caulk gun
- Flashing
Step-by-Step Repair Guide
Follow these steps to fix leaks in a roof:
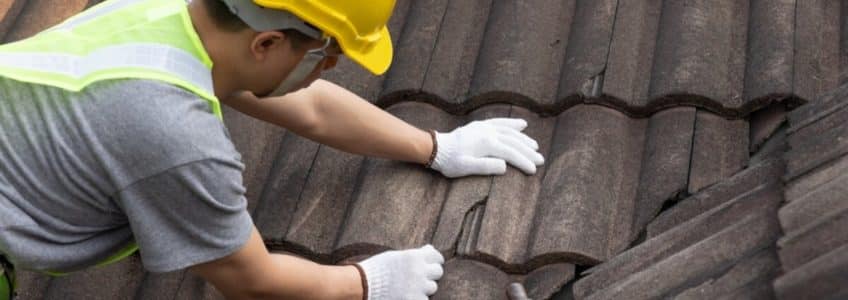
- Remove Damaged Shingles: Use a pry bar to carefully lift and remove the damaged shingles around the leak area. Be cautious not to damage the surrounding shingles.
- Inspect the Roof Deck: Once the shingles are removed, inspect the roof deck for signs of damage. If the wood is rotted or damaged, it will need to be replaced.
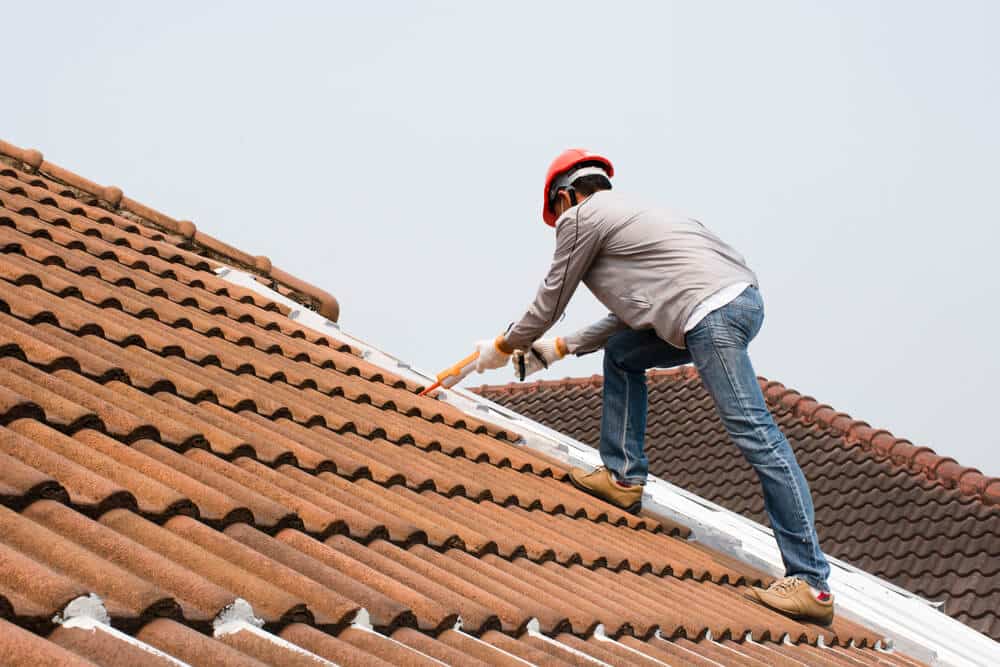
- Install New Flashing: If the leak is near a chimney, vent, or skylight, inspect the flashing. If it’s damaged, remove the old flashing and install new flashing, securing it with roofing nails and sealing with roofing cement.
- Replace Shingles: Slide the new shingles into place, securing them with roofing nails. Apply a small amount of roofing cement to the nail heads to ensure a watertight seal.
- Seal the Area: Use caulk to seal any gaps or cracks around roof penetrations. Ensure all seals are tight to prevent future leaks.
Preventing Future Leaks
Regular Maintenance
Preventing roof leaks requires regular maintenance. Here are some tips to keep your roof in top condition:
Regular Inspections: Conduct regular inspections of your roof, especially after severe weather. Look for signs of damage and address any issues promptly. Clean Gutters: Keep your gutters clean and free of debris to ensure proper water drainage. Trim Overhanging Branches: Trees with branches that overhang your roof can cause damage. Trim these branches to prevent them from rubbing against the roof or dropping debris. Check Seals and Flashing: Periodically check the seals and flashing around roof penetrations and reapply caulk or replace flashing as needed.
When to Call a Professional
While many roof repairs can be handled by a handy homeowner, some situations require professional expertise. If you encounter extensive damage, rotting wood, or if the leak persists despite your efforts, it’s time to call in a roofing professional. They have the experience and tools necessary to fix leaks in a roof effectively and safely.
Conclusion
 Finding and fixing leaks in a roof is essential to maintaining the integrity of your home. By conducting regular inspections, addressing minor issues promptly, and performing routine maintenance, you can prevent small leaks from becoming major problems. With the right tools and a bit of know-how, you can keep your roof in excellent condition and your home dry and safe. If you need professional assistance or have any questions, don’t hesitate to contact Advantage Construction today for expert help and advice.


